
'68 Mustang-Roadster
'68 Coupe to Fastback to.. Retro-futuristic supercar? A Questionable Journey
The mega build session
Four days. That's what I gave myself. Four days to take everything I'd been assembling in pieces, sessions, and stolen evening hours, and turn it into a car.
Day one started with the driver side inner structure, which, thanks to everything I'd learned on the passenger side, took roughly a fifth of the time. Maybe a seventh. The first time you do something, every step is a negotiation with the unknown. The second time, your hands already know where to go. I cleaned up the last of the old quarter panel residue on the driver side, clamped everything together, and then did something I'd been wanting to do for weeks.
I dropped the roof on.
Not to weld. Not to measure. Just to see if anything catastrophically wrong would reveal itself. It sat there, resting on the structure, and it looked... right. Not perfect. Not verified. But right. The kind of right that makes you take a breath and think: okay, this might actually work.
Before going further, I did something that probably nobody else on this forum has done. I took every measurement I'd collected from Scott Harness, Lost Socket Garage, and my own sessions, and built a 3D model on Sketchfab with all of them mapped in. Every reference dimension, every critical distance, accessible on your phone while you're standing next to the car with greasy hands. The architect in me couldn't help it. But honestly, it saved me hours. Instead of flipping through notes and pausing YouTube videos, I'd just rotate the model and find what I needed.
Here's the link if anyone wants it for their own conversion. Consider it a gift from a man who measures things too many times.
Day two. The B-pillars.
I'd been going back and forth on these since Episode 8. Keep them? Replace them? They looked okay from the outside, but "okay from the outside" is the kind of phrase that comes back to haunt you at three in the morning when you're lying in bed thinking about rust.
I pulled them. Took about two hours. And the moment they were out, I knew I'd made the right call. Rust at the rockers, hidden damage that I never would have seen without removing them. The old ones went in the pile, the new Dynacorn pieces went on, and the inner structure immediately felt more solid. Like going from a suggestion of a car to an actual statement.
I corrected the front brace and A-pillars to match Scott Harness' measurements. Got them dialled in. Then bolted the quarter panels back on to check alignment, and the driver side was off. Sitting either too high or too far forward, I couldn't tell which. It wouldn't sit flush on the decklid.
This is the sinusoid of this build. You fix one thing, check another, and something has shifted. In this case, the top part of the inner structure was clamped too close to the front, pushing the quarter panel out of position. I found it, adjusted it, and everything fell back into place.
[Photo 9]
[Photo 10]
[Photo 11]
Passenger side was nearly perfect. Driver side needed the correction. Both now sitting where they should be.
[Photo 12]
Day three. I took everything apart. Again.
I know. I can hear you. "Didn't you just put it all together?" Yes. And now I'm taking it apart, because I realised the plug weld holes weren't wide enough, and the A-pillars needed to be permanently welded before anything else could be referenced off them. You don't rush past the foundation because you're excited about the roof.
[Photo 13]
I'd promised to show the internal surfaces of the A-pillars, and here they are. Some surface rust, nothing dramatic. Solid metal underneath. Same story as when I first uncovered them in Episode 7. These are staying.
[Photo 14]
[Photo 15]
I measured. Re-measured. Triple-measured. Then placed the windshield into position to verify everything one more time. It lined up. I welded the external A-pillar pieces to the internal ones. Measured again with the glass in place. Welded the top brace.
[Photo 16]
[Photo 17]
[Photo 18]
These are the first permanent welds to the car itself. Not to test pieces, not to practice scraps, not to inner assemblies sitting on my home office floor. To the car. The A-pillars and top brace are now part of Coupe. Permanently. There is something about that moment that shifts the weight of the project. Before this, everything was theoretical. Bolted, clamped, balanced, removable. Now metal is joined to metal, and the only way to undo it involves a grinder. It concentrates the mind wonderfully.
Then the back plates for the door bolts fell down inside the body. Of course they did. They dropped into the cavity behind the A-pillar, rattling around somewhere in the dark. I briefly considered just leaving them there as an offering to the car gods, but I needed them. So I fished a string through the bolt hole, looped it around the plate, and pulled it back up into position. Old school. The kind of fix that makes you feel like a proper mechanic for about thirty seconds before you remember you're an IT guy in a tent.
[Photo 19]
Day four. The finish line.
The closer you are to the end, the faster you work. Everything I'd fumbled with on day one, I handled in minutes on day four. I mounted the doors first. The back plates were easy to position this time since I'd removed the dashboard weeks ago, giving me clear access to the A-pillar cavity from the inside. String trick again, plates in place, bolts through.
The doors took a few hours to get right, mostly because I was doing it alone. Hanging a door by yourself is an exercise in growing a third arm through sheer willpower. I wasn't chasing perfection, just the best possible alignment I could achieve solo. The doors aren't perfectly straight, they'll need bondo and possibly a slight bend at the bottom to match the body lines. But they're on, they swing, and the gaps are even enough to work with.
[Photo 20]
[Photo 21]
Then the drip rails arrived. Yahoo. One less thing on the CJ waiting list.
[Photo 22]
I spent the next five hours measuring. And measuring. And measuring. jtfx6552 had given solid advice earlier: screw everything together with self-tapping screws, test-fit the glass before you commit to welding. I followed it. Fenders back on. Everything bolted, clamped, positioned.
[Photo 23]
[Photo 24]
And then the moment that the entire conversion hinges on.
The back window.
As anyone who's done this conversion knows, the back window measurement is the one that matters most. If it's wrong, the glass won't fit, and you're looking at weeks of rework. Scott Harness and Lost Socket Garage both hammer this point in their videos: get this measurement right or don't bother welding anything.
The roof didn't want to drop in easily. Both Scott and Lost Socket warned about this. It took me the better part of an hour, working alone, coaxing it into position. I'd bolted the rear of the roof where I'd already locked my measurements. The front needed convincing.
I used a technique I'd seen an old-school garage do years ago, a clamping method that holds the body rigid without bending the quarter panels the way straps can. I don't remember the name of it, but when you see the photos, you'll recognise it. It worked beautifully.
The roof settled. I reached for the tape measure.
33 and 5/8 inches.
[Photo 25]
[Photo 26]
Within spec. My original measurement had been 33.5 inches, and the roof had pushed it to 33 5/8. That extra eighth of an inch is within the tolerance. The back window will fit.
I am, to put it mildly, super happy.
[Photo 27]
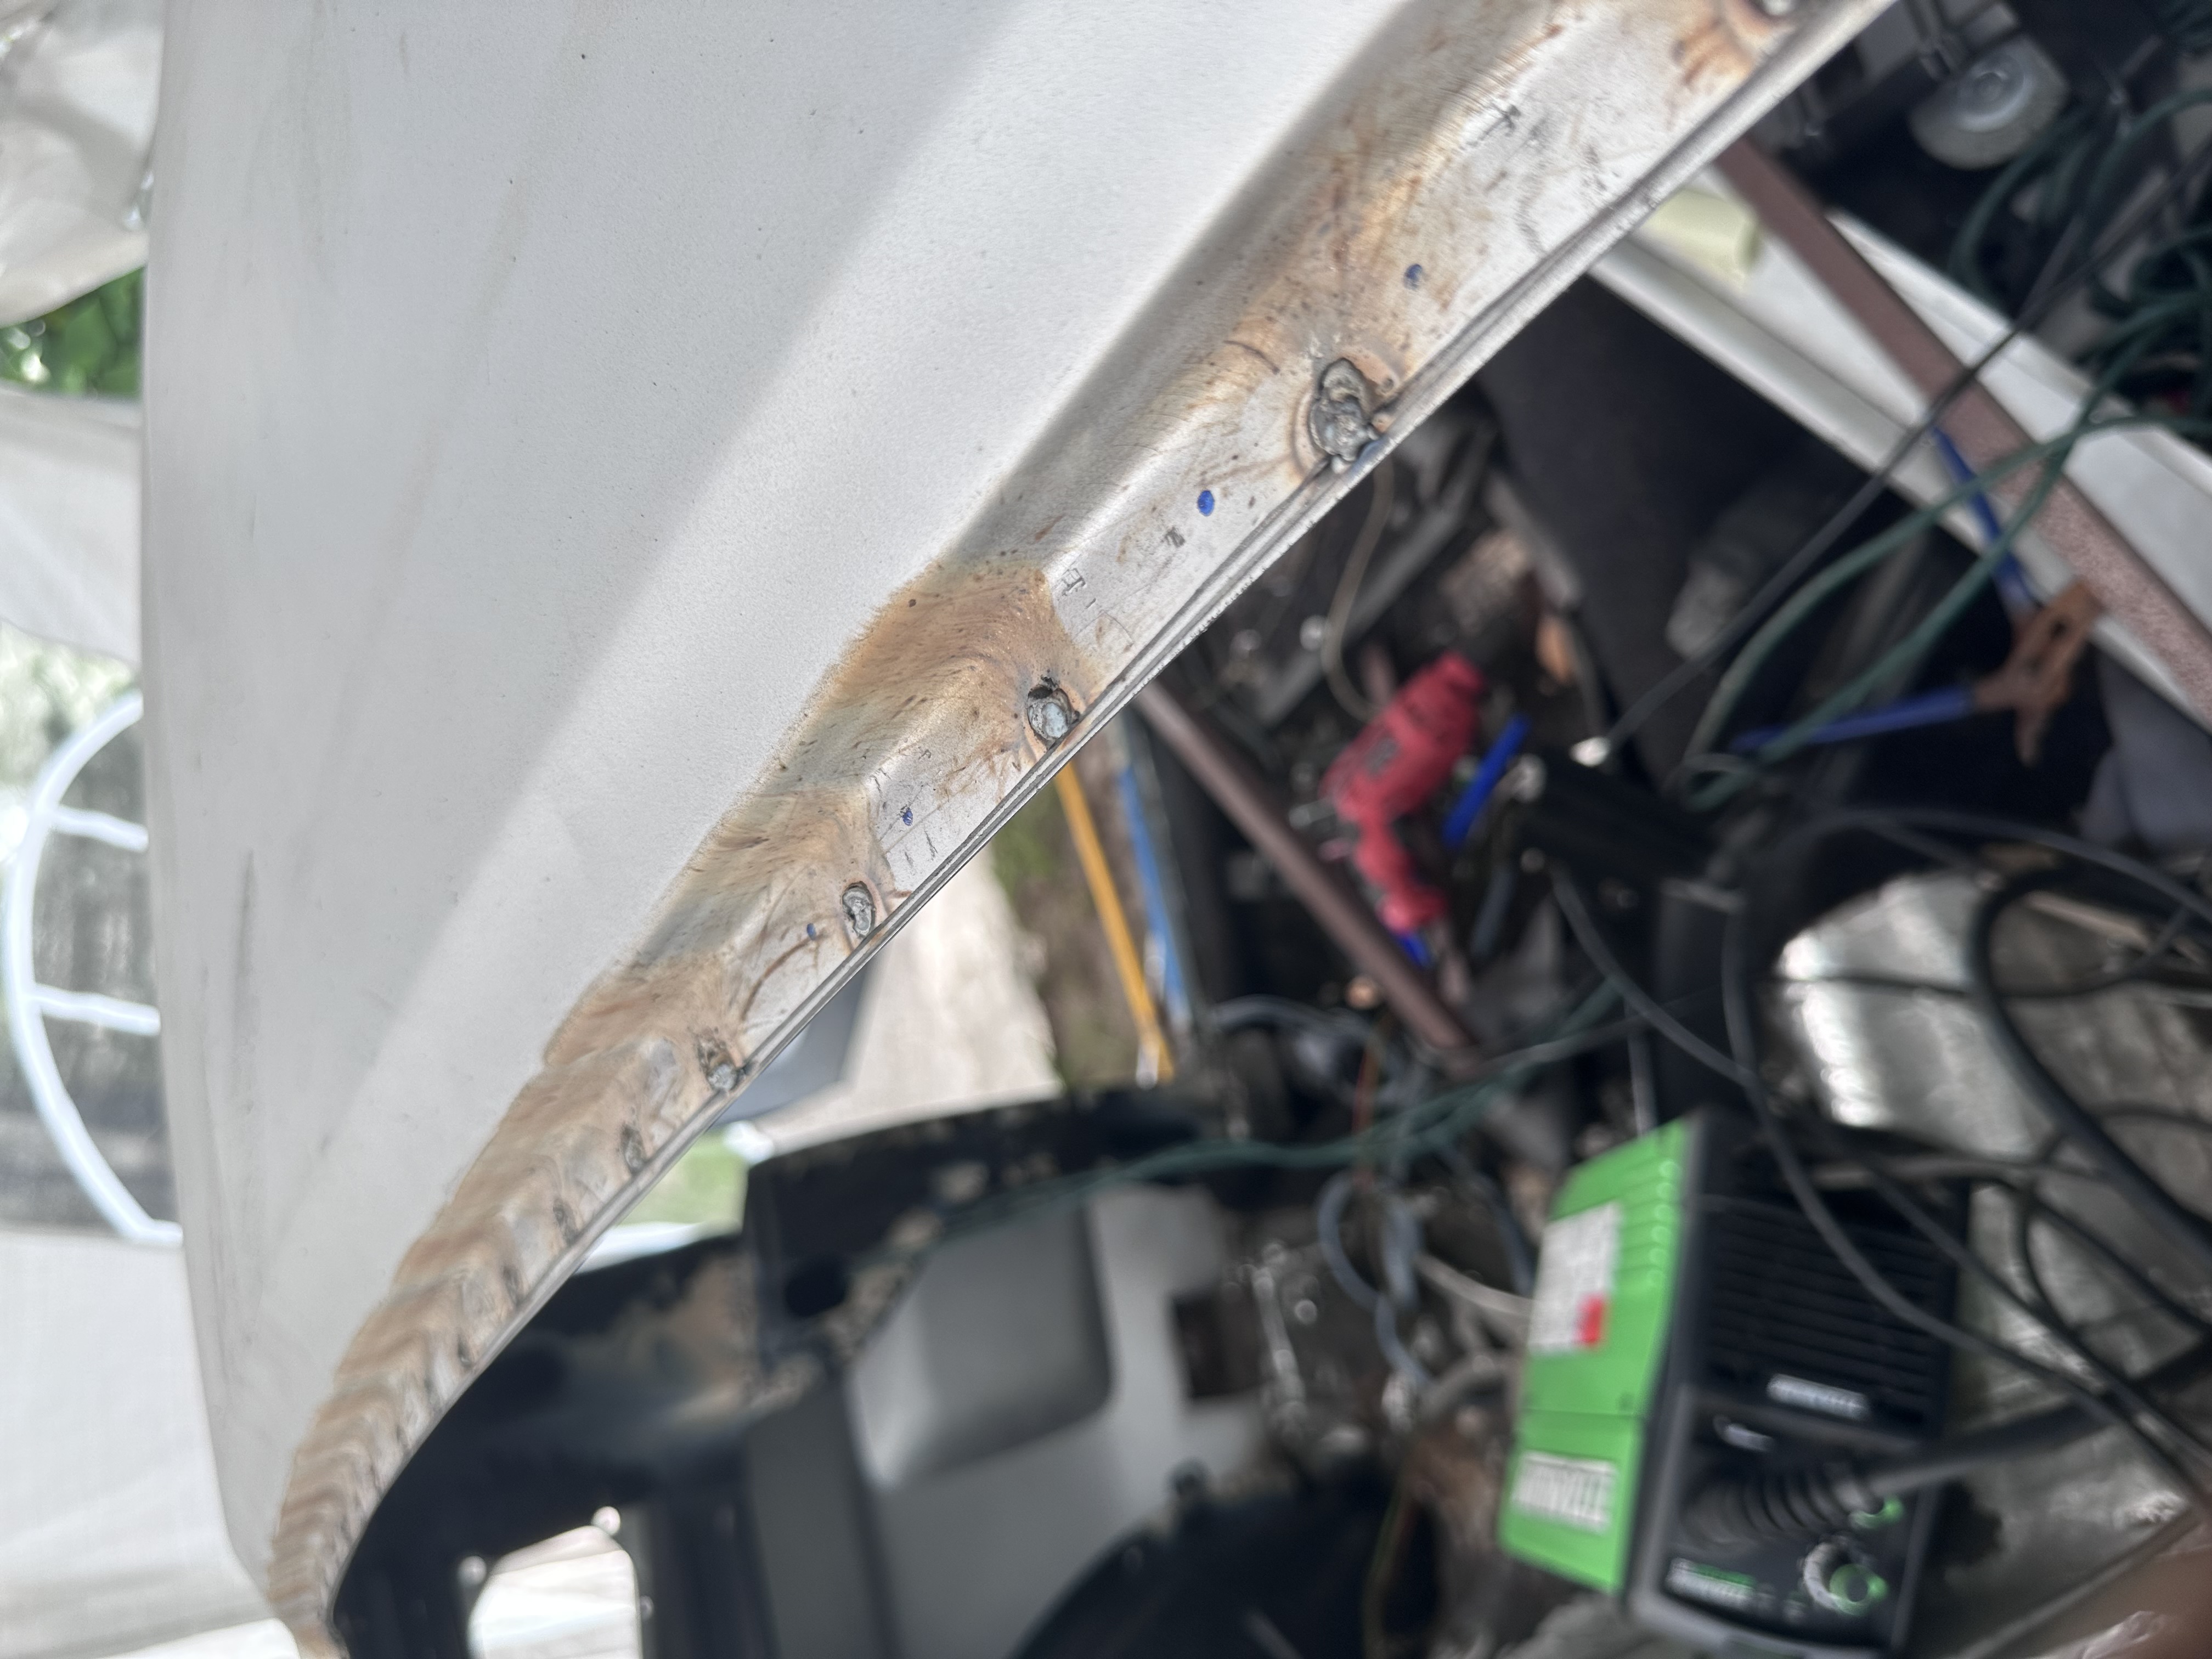
While I had the momentum, I welded plates into the holes from the old radio antenna and on the driver side front fender. Someone advised me at the very beginning of this thread that I should weld those holes before starting any conversion work. Interesting how I'm doing it at the last possible moment instead. The top metal took the welds fine. The fender metal was thin, so I used donor metal from that spare door skin I bought ages ago (the one that's been sacrificed for every test and practice run in this build). It'll need a bit of hammering and bondo, but it's closed.
[Photo 28]
[Photo 29]
I am getting really, really close to welding everything together permanently.
The plan for this week is mapped out. Every evening after work, one task. Remove the trunk, take everything apart one final time, punch holes for welding, drill, reassemble, verify. And Saturday: the welding day. The day everything gets joined for good.
Oh, and I ordered side scoops. Classic style, not Shelby. I thought about Shelby, but with the car dropped low on those wheels, plus the Cobra-style side exhaust idea I keep turning over in my head, Shelby scoops would push the whole thing from aggressive into insane. Classic scoops keep it on the right side of that line. Barely.
RareSpirits said something in the thread that stuck with me: "I do applaud what you've done." From a fellow builder, that means something. Four days ago, Coupe was a skeleton with parts loosely sitting inside it. Tonight, it has A-pillars welded permanently, B-pillars replaced, doors hanging, fenders mounted, drip rails on, and a roof that fits within spec.
It's not welded. It's not finished. But it's a body again. And on Saturday, it becomes permanent.
'68 Mustang-Roadster
'68 Coupe to Fastback to.. Retro-futuristic supercar? A Questionable Journey
'68 Mustang-Roadster
'68 Coupe to Fastback to.. Retro-futuristic supercar? A Questionable Journey
16 épisodesGlisse pour lire →